
Roman Surovtsev’s clients have high expectations for how their kitchens looks when he’s done working. “They want their cabinets as smooth as the Ferrari in their garage,” shares Surovtsev, owner of Premier Painting DFW.
If you’re OK with something shy of a Ferrari finish, though, painting your own cabinets might be a reasonable way to refresh your look without spending thousands. “Almost anyone can do this,” Surovtsev says. “It’s a matter of how well you’re going to do it.”

The itch to paint cabinets may be about boredom or staying in style, but Surovtsev says clients just as often want to replace chipping, peeling builder-grade paint with something higher quality.
Dennis Fiorilli, senior director of product information and excellence at Sherwin-Williams, says most cabinets, whether stained or painted, are good candidates for painting, as long as they don’t have structural issues or warping. (The latter should be replaced.) Once the project is a go, though, you’re still a long way from a new color.
“Skipping the prep is always the biggest mistake people make when attempting a painting project, and it can be highlighted even more on cabinets,” Fiorilli says.
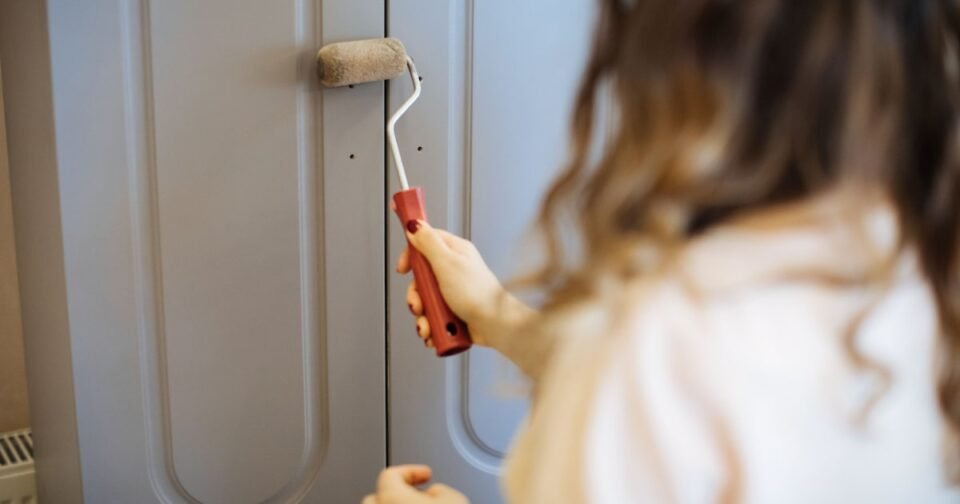
Prep and prime your cabinets

Surovtsev says the right prep and the right paint are non-negotiable factors for success. To begin prep, clean all your cabinets thoroughly. Start with a basic wash, then degrease with a product that includes acetone or denatured alcohol.
After cleaning, scuff the cabinets with sandpaper that has a grit of 220 or finer. “Sand every square inch,” Surovtsev says. Wipe every surface again to remove the dust from sanding.
Surovtsev prefers an oil-based primer as the next step. He recommends original Kilz unless there’s a small child or a person with an allergy in the household. “It stinks, but it will also dry within the hour,” Surovtsev says. “And it will stick on any surface.” If a client needs to avoid Kilz, he uses Stix, a Benjamin Moore waterborne product.
Fiorilli says you should be careful to choose a stain-blocking primer if your cabinets have been stained. Sherwin-Williams carries both oil-based and waterborne versions for the job, as well as Extreme Bond Primer if you have concerns about how the paint will adhere to your surfaces.
Once your primer is dry, it’s still not time to paint. “Regardless of how smooth your primer is, you have to sand your primer, too,” Surovtsev says. A small sanding sponge, available at a paint store, or 320-grit sandpaper are the right tools for this step. Anything more abrasive will leave scratch marks that you’ll be able to see through the paint coat.

Then you need to clean the surfaces once more. You can start with a vacuum, but it won’t remove the finest dust left from the last sanding. To get the clean that leads to a perfect finish, use a lightly damp microfiber cloth. If dust isn’t fully removed, it will be trapped under the paint layer. This can impact the look of the finished surface and how the paint adheres. Tiny bits of dust create spots “where the paint will not properly attach to the primer,” Surovtsev says.
Primed and prepped? Now, finally, it’s time to paint.
Painting your cabinets, step by step
For paint, Surovtsev recommends spraying with Benjamin Moore’s Command line or the Gallery Series from Sherwin-Williams. For brushing and rolling, he suggests Benjamin Moore’s Cabinet Coat. Fiorilli also recommends his company’s Gallery paint for spraying and adds Emerald urethane trim enamel as an option for brushing and rolling.
This category of paint may cost more than you’re used to paying per gallon if most of your painting has been interior walls. But Surovtsev says you won’t regret the investment. These paints are formulated to be durable, washable, water resistant and non-yellowing.
If you brush and roll, “it’s going to feel, as my daughter says, ‘rudgy,’” Surovtsev says. “Make sure you have an expectation that your cabinets are not going to look better than the cabinets of someone who hires a professional.”

Spraying “does require more setup and masking, but the payoff is in the professional results,” Fiorilli says. “Rolling or brushing can be more forgiving for homeowners who don’t have much experience … but you’ll typically see some texture left behind. The finish you want, and your comfort level, should guide your approach.”
Sprayers are available for rent and, in Surovtsev’s mind, they’re the only real choice for a perfect cabinet finish. “Unless you spray, you will never get the fine finish,” he notes.

While it will be tempting to screw hardware right back on to your new cabinets and drawers, it’s crucial to give paint time to fully cure before using them. (That could be days or even weeks; consult your paint info for recommended wait.) “That’s it,” Surovtsev says of the process. “There’s nothing magical about it.”
If you’re willing to put in the effort and be realistic about the finish a non-professional can achieve, this could be the DIY job for you. But “cabinets can take a lot of abuse, which means adhesion and a quality coating are important,” Fiorilli says. “If you are unable to take the steps to prep, I would suggest contacting a professional who has the skill set and tools to complete the project properly.”
Love homes, gardens and design? Get more good stuff from Abode by following us on Instagram and Facebook.